

You must have the Enterprise subscription with role for the GL Code functionality. Contact your Client Success Manager to learn more.
The GL coding functionality allows you to assign GL Codes to specific charges based on specific rules created. These rules are applied to all new charges that flow through the PSI system and can be exported from PSI to then be loaded into your General Ledger system. Use this functionality to create, manage, and apply GL codes.
-
Click Settings>GL Codes. The existing GL codes display, toggle between Chart of Accounts 01 and Chart of Accounts 02. You are allowed two Chart of Accounts.

-
To change the priority of the GL codes, there are two options:
|
Option to Change Priority |
Graphic |
|---|---|
|
Click the double ellipse, drag and drop row to new position. The priority number updates. |
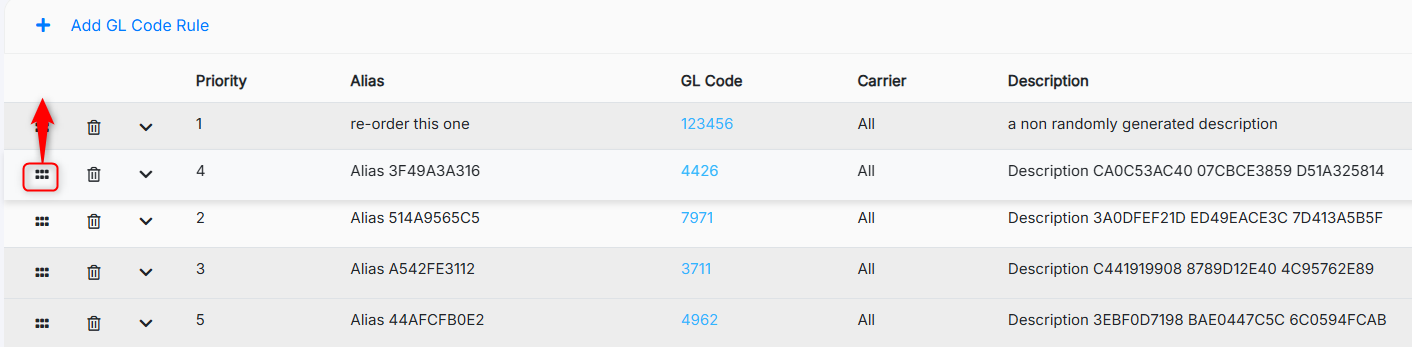
|
|
Click into the priority field, type the priority number or use arrows to change the number. |
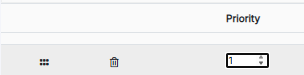
|
-
To create a GL Code Rule:
-
Click Add GL Code Rule.
-
Complete fields refer to the following table:
-
|
Field |
Description & Instructions |
|---|---|
Chart of Accounts (COA’s)
|
Enter the COA (either 1 or 2). If your company only has one chart of Accounts this defaults as 1. |
GL Code Value (Required)
|
Type the GL code associated with rule. |
Carrier
|
Carrier associated with the rule can have all carriers or a single carrier. Select from drop-down. |
Alias (Required)
|
Type a description that describes the rule. |
Description
|
Allows you to type a longer description then the Alias. |
Apply radio buttons
|
Select how to apply the conditions either all conditions must apply or any of the conditions can apply for the rule (at least one rule must be met). |
Add Condition (Type, Operator, and Value)
|
To add a condition:

To edit, click the pencil
|


c. Click Add GL Code Rule.
-
To edit GL code rule:
-
From the grid, click the Alias or GL Code hyperlink in the grid.
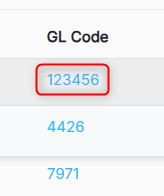
GL Code hyperlink -
Edit fields as needed.
-
Click Update GL Code Rule.
-
If you click cancel and have unsaved changes, a prompt displays. Click Leave if you don’t want to update. Click Cancel and then Update if this was a mistake.
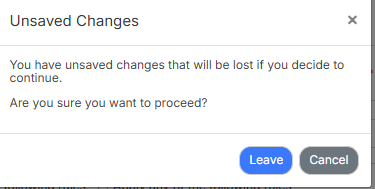
-
To generate unmapped shipments report for transactions not associated with GL codes and run newly created rules:
-
Click Exception Reporting.

Exception Reporting -
To view all columns, click Show All Columns.
-
Click Run GL Code Rules. Depending on the number of records this process may take some time, sometimes up to an hour.
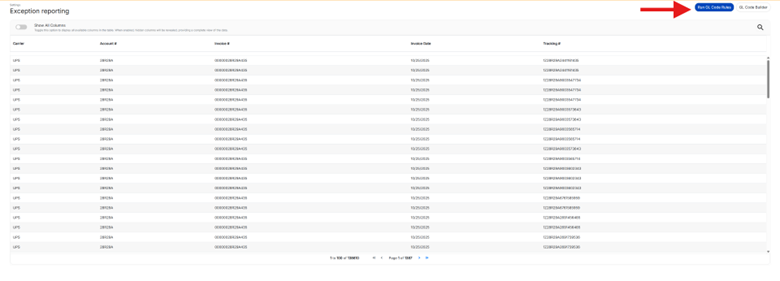
Run GL Code Rules -
Enter the Start Date and if desired an End Date (optional).
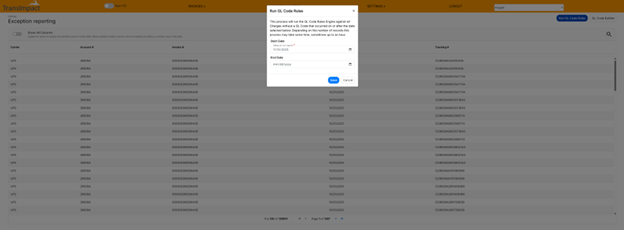
Select Date Range -
Click Save.
-
After a few seconds, a tooltip displays indicating that this process may take up to an hour. After a few minutes, refresh the Exception Report.
-
You can spot check specific tracking numbers on this screen using the search feature. The Exception Report only shows lines that HAVE NOT been GL coded. This means that if you search for one that was previously blank and it no longer shows up on the report, it has now been coded.
-
To view GL code data associated with charges:
-
Create a custom report using the Charge GL Codes option in the Data column. Refer to Custom Reports.
-
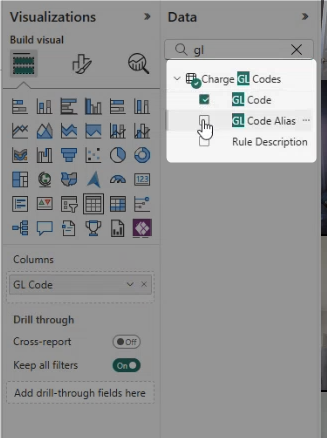
-
To upload to your GL system. Refer to Export to CSV.
-
For CSV format, you must select One line per Charge.
-
The exported file’s last column contains the GL Code Value.
-
